RaceChrono - 10Hz GPS DIY
Introduction
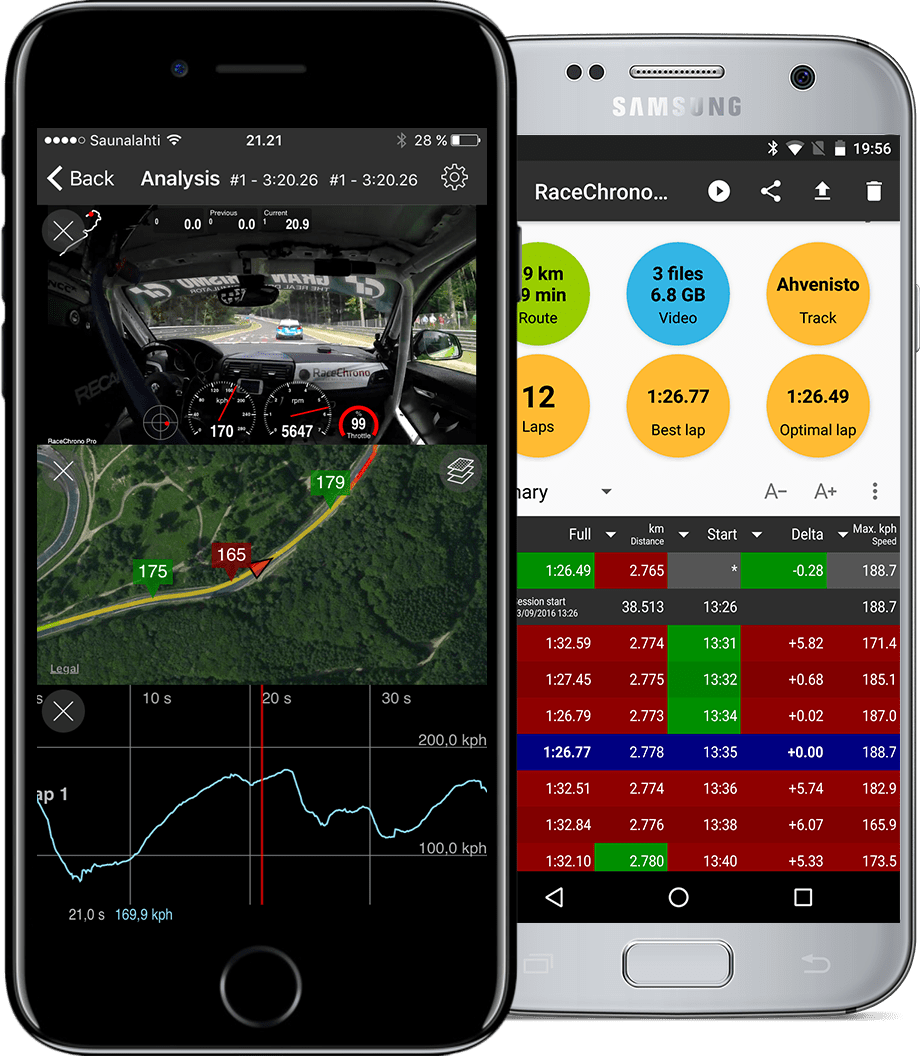
RaceChrono is a popular motorsports app for smartphones (iOS and Android) that functions as a high-tech lap timer, data logger, and analysis tool.
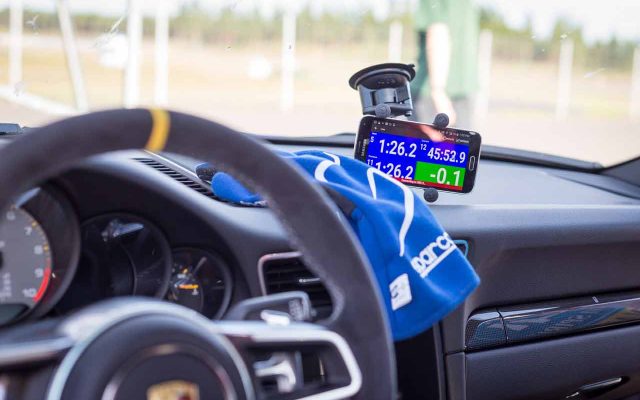 |  |
However, if you’ve ever tried to log motorsport data with your phone, you’ve probably hit a frustrating limit fast…built-in GPS just doesn’t cut it !
Indeed, most Android devices cap GPS updates at 1 Hz, and even that can be unreliable due to aggressive power management, background activity throttling, and inconsistent sensor polling. Worse, some models fudge their update rates entirely—reporting 1 Hz while delivering data far more sporadically.
For race timing and telemetry, that’s a serious bottleneck. You need high-resolution data, ideally 5 Hz, 10 Hz, or even 20 Hz, to analyze braking points, cornering forces, or lap deltas with precision. That’s where RaceChrono DIY support comes in.
RaceChrono supports hooking up custom hardware and external sensors to feed live data directly into the app. This opens up endless possibilities for telemetry, without expensive hardware.
Which means that instead of relying on the phone’s flaky GPS, it is possible to hook up an external GPS to stream high-frequency data directly into RaceChrono over BLE. For now, only GPS and CAN-Bus APIs available as described here
Hardware
The project initially used the TTGO T-Beam board by LilyGo, chosen for its affordability and integration of key components potentially needed for the application.
To simplify development and firmware flashing, especially for non-developers, Arduino IDE was initially selected as the development environment.
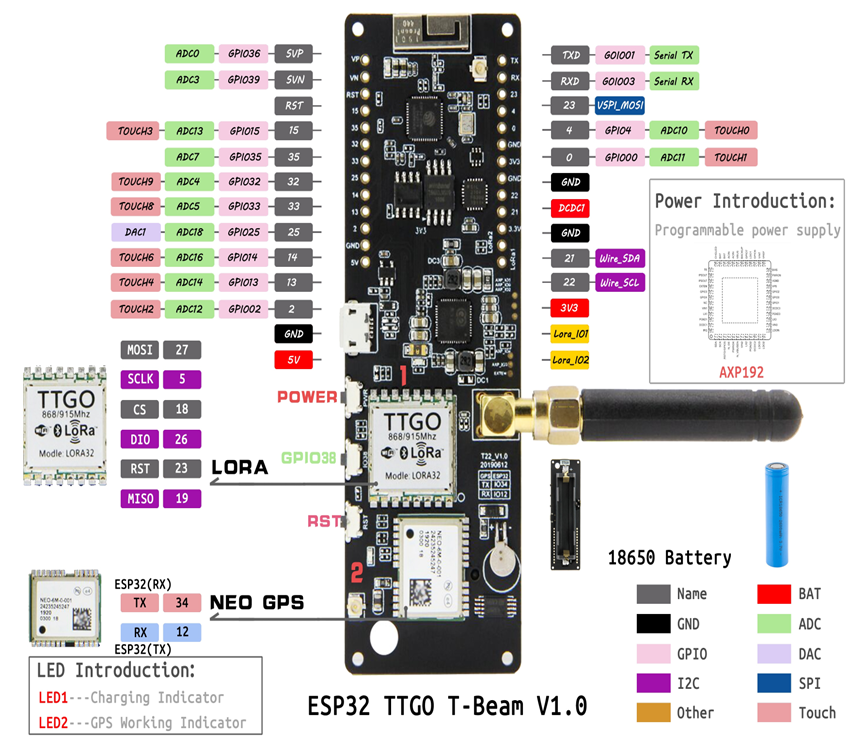
As shown above, the TTGO T-Beam includes:
| Brand | model | description |
|---|---|---|
| Espressif | ESP32 | Microcontroller |
| u-blox | NEO-M8N | GPS module |
| X-Powers | AXP202 | power management chip |
The module has also a 18650 Battery holder and a Lora chipset which are not used for this specific project.
As the project progressed, the setup shifted from using the original board to incorporating separate modules, such as a standalone ESP32 development board (e.g., the NodeMCU-32S) and a dedicated u-blox NEO-M8N GPS module, providing greater flexibility for customization and hardware expansion.
Looking ahead, there is potential to design a custom PCB that integrates the required components more efficiently. This would streamline the hardware setup, improve reliability, and reduce overall size.
Antennas
The module works flawlessly with the below antennas, then it depends where/how the antennas is fixed to the motorbike.
| 712-ANT-GPS-SH2-SMA | TAOGlass FXUB63 |
|---|---|
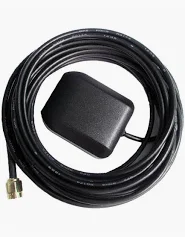 | 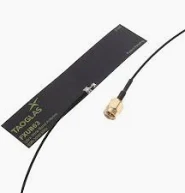 |
Programs
The repository includes a separate branch (NodeMCU32S and TBEAM) for each board model, which contains two different programs (passthrough and rc_diy).
The firmware is automatically compiled by the Github CI, the compiled versions can be found in the Releases if needed.
To flash the following programs, one can use
esptoolsoftware from Espressif available here.
Wiring
The modules are interconnected together via the following pins.
| NODEMCU pin | TBEAM pin | u-blox pin |
|---|---|---|
| 3V3 | 3V3 | VCC |
| GND | GND | GND |
| 22 (RX) | 34 (RX) | TXD |
| 23 (TX) | 12 (TX) | RXD |
The pins can be adapted in the code if required.
Passthrough app
To interact with the u-blox GPS module, the U-Center software on Windows can be used for configuration and data visualization.
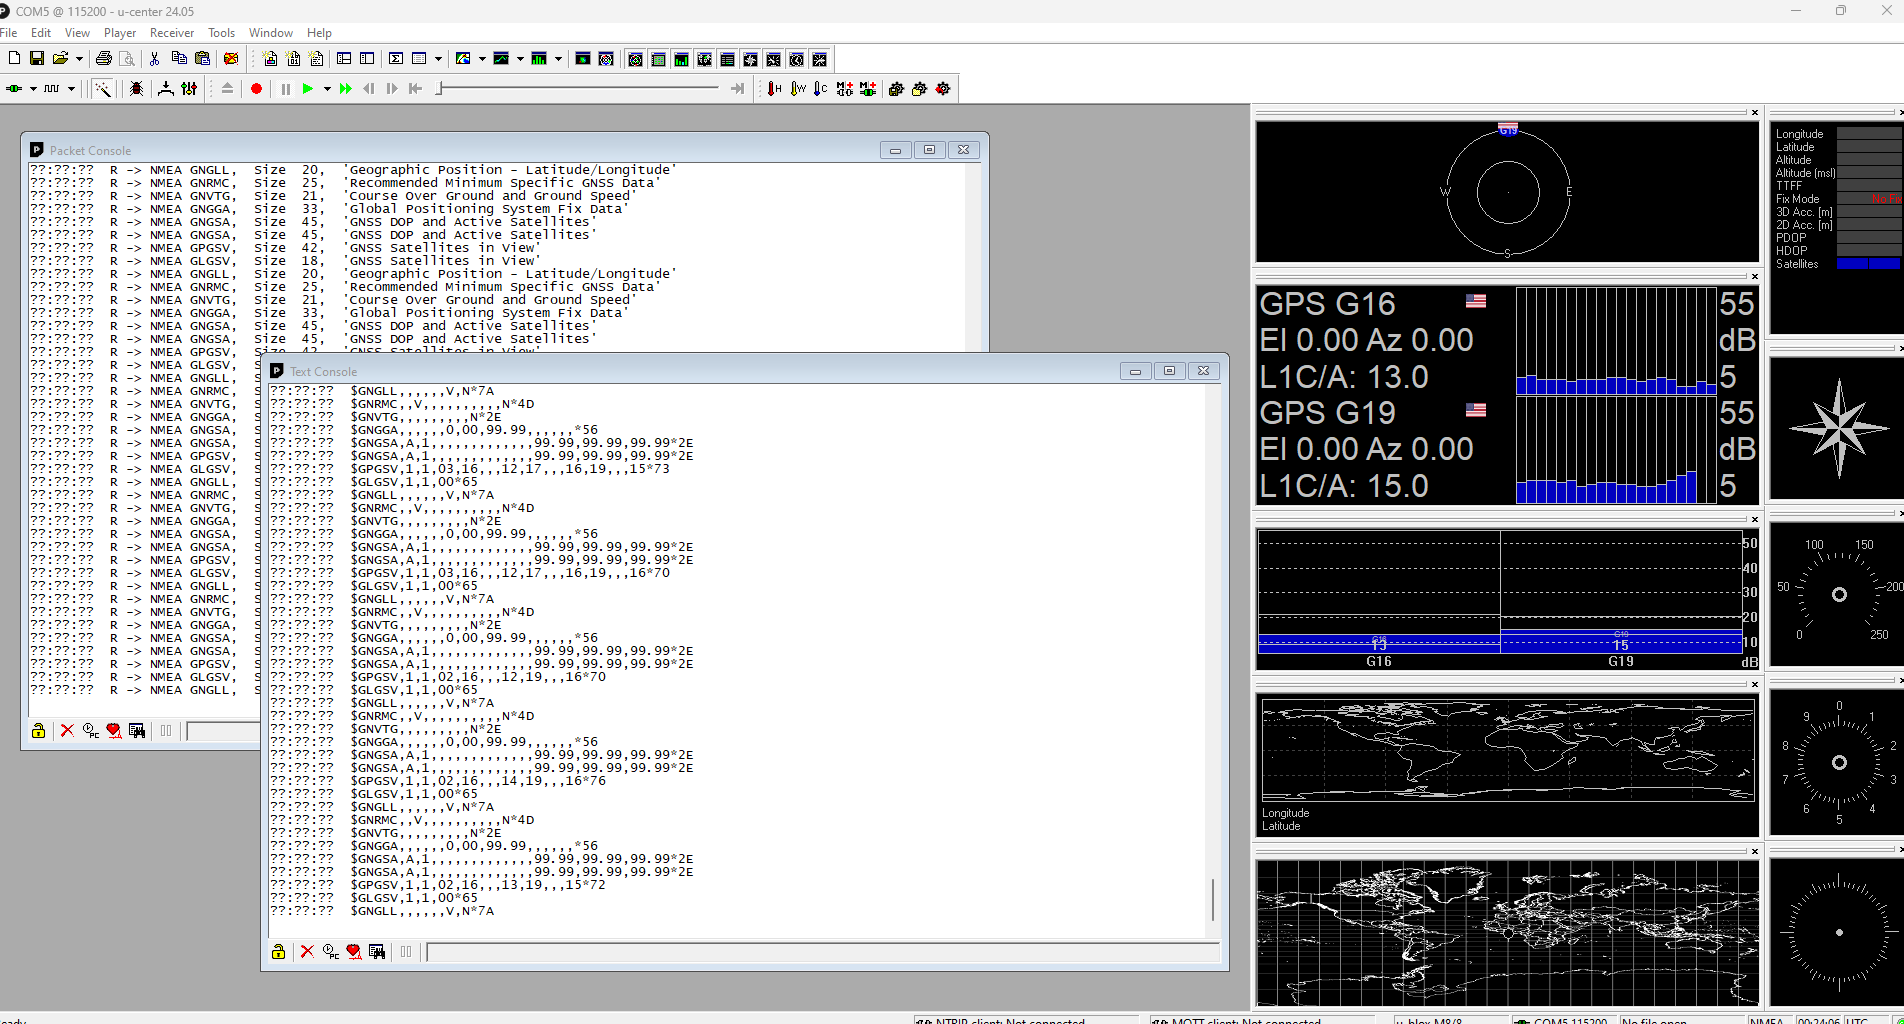
However, this typically requires a USB-to-UART adapter to connect directly to the module, which may not be accessible to everyone.
As an alternative, a utility program included in the repository enables UART communication through the ESP32, removing the need for additional hardware. The module must be in default configuration for this to work or the baudrate must to be adapted accordingly in the source code.
RC_DIY app
Since the TBEAM includes an AXP power management module, the appropriate peripherals must be enabled at startup. The configAXP function handles voltage configuration and powers up both the ESP32 and the u-blox module.
At startup, the ESP32 sets the configuration of the ublox module via configGPS function via UART at a baudrate of 9600 (default):
- Enable only essential
UBXmessages of the UBLOX protocol:UBX-NAV-PVT(position/velocity/time).UBX-NAV-DOP(dilution of precision).
- Update the frequency to
10 Hz. - Switch the UART speed to
115200for faster communication. - Disable
NMEAand other unused messages to reduce noise and increase bandwidth.
Settings are not saved to PSRAM and are therefore reconfigured on every startup.
Bluetooth Low Energy (BLE) is also enabled at this stage via configBLE function and begins advertising once the relevant characteristics have been set.
Since the TBEAM has an LED, it has been used to indicate the state of the BLE connection:
| LED flash mode | Decription |
|---|---|
| Fast (4 Hz) | Waiting for connection |
| Slow (1 Hz) | Connected |
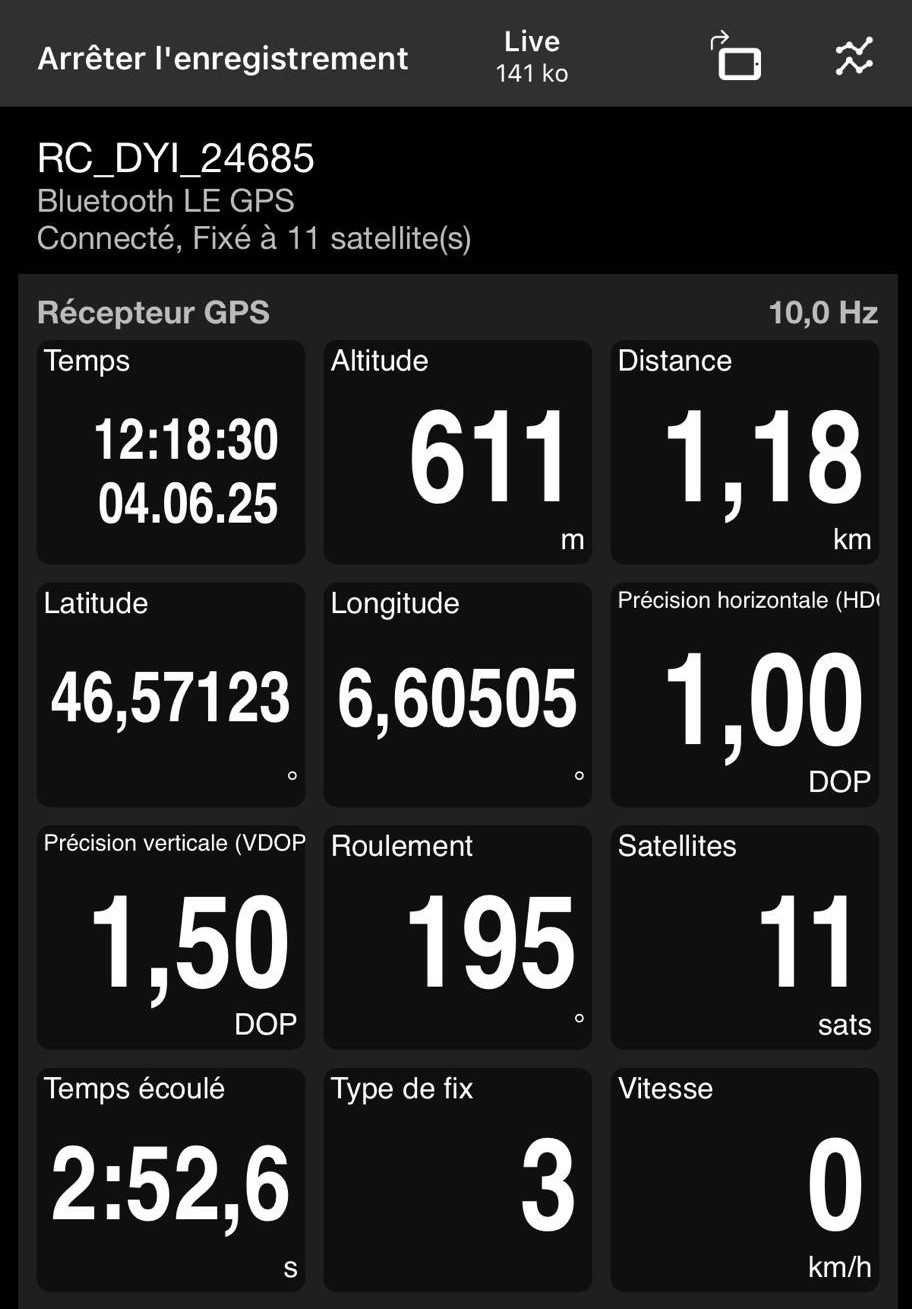
Once everything is running, it is possible to discover and connect the device with the Racechrono application. This is performed by pressing the cog wheel on top of the initial screen Add other device > Add other device > RaceChrono DIY. The device should be listed using a unique identifier string for the device, prefixed with RC_DIY_, followed by a 16-bit value derived from the lower 32 bits of the ESP32’s MAC address.
Once connected, start a recording and have a look on the stats to confirm everything is working smoothly.